01 / FIBRE
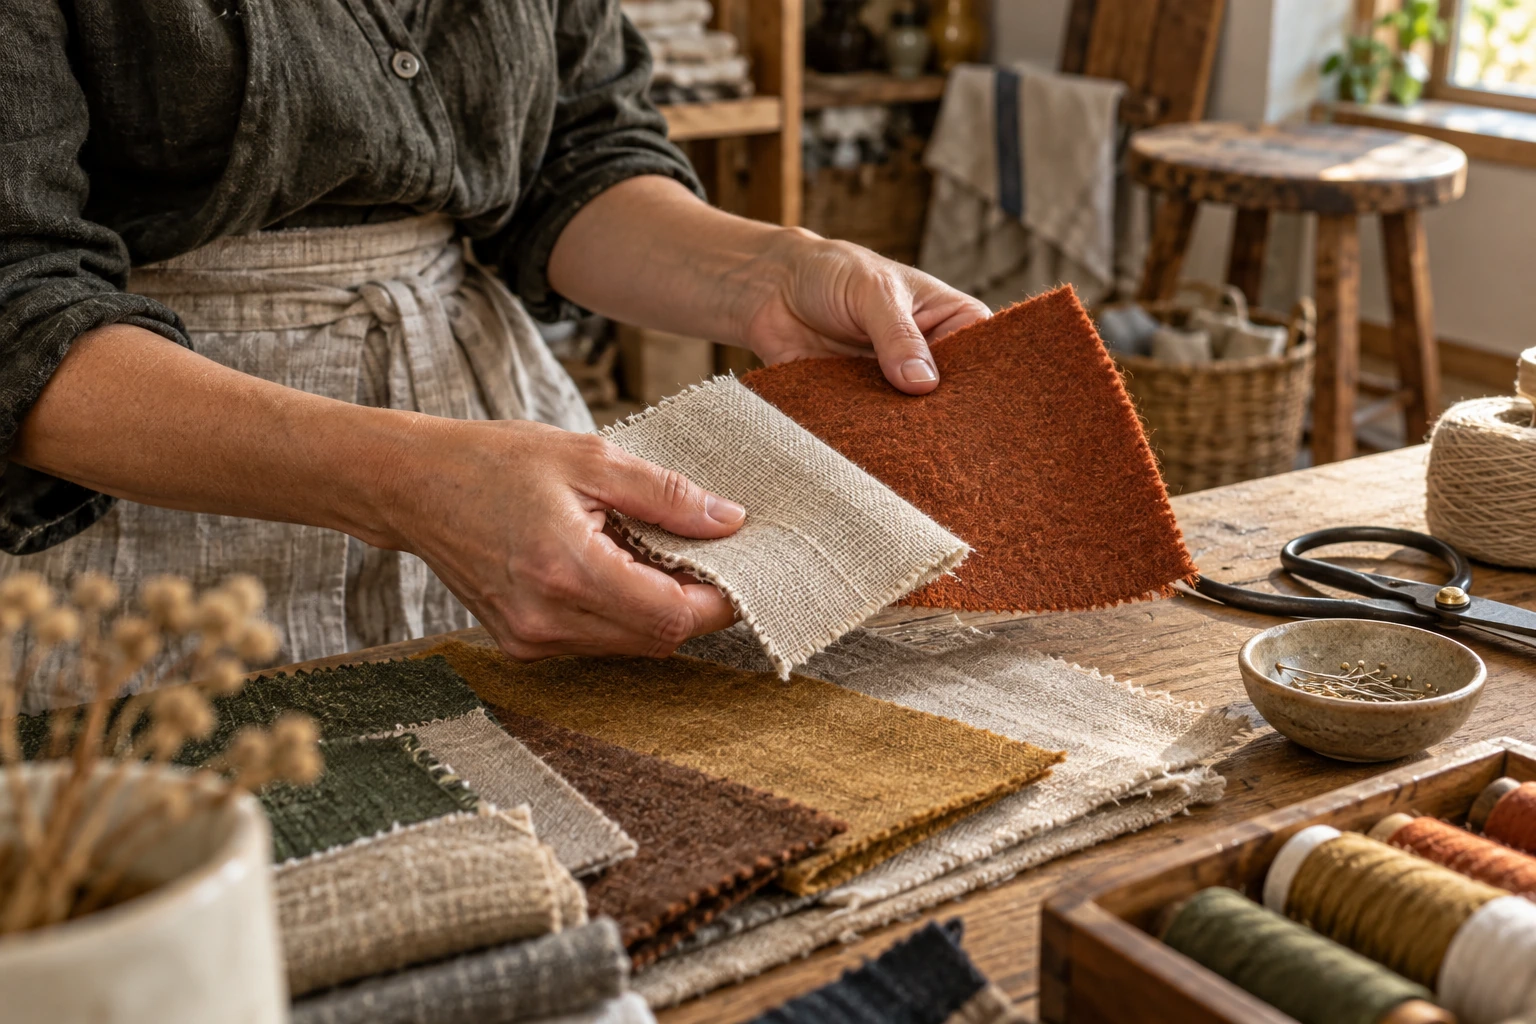
Soft is not simple.
Compare compression, recovery and the way an edge holds together. Two equally soft surfaces may behave very differently.
Melivorak / The material fieldguide
Before a material becomes a product, it is something to touch, bend, join and question. Make room for a more curious kind of making.
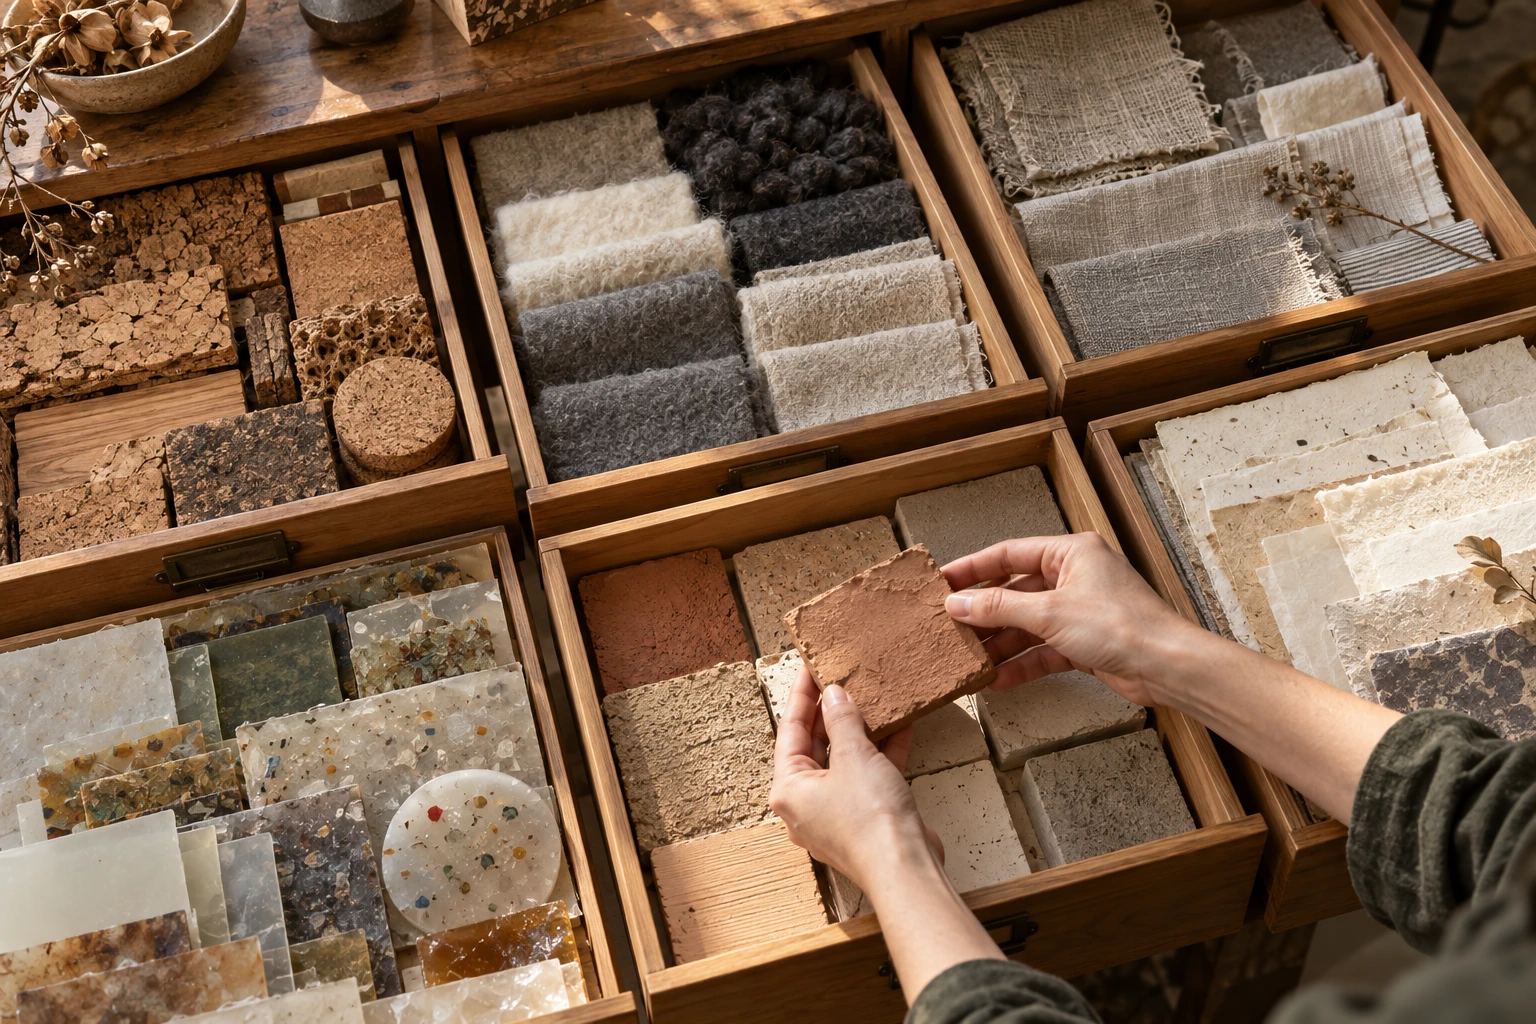
Open the sample cabinet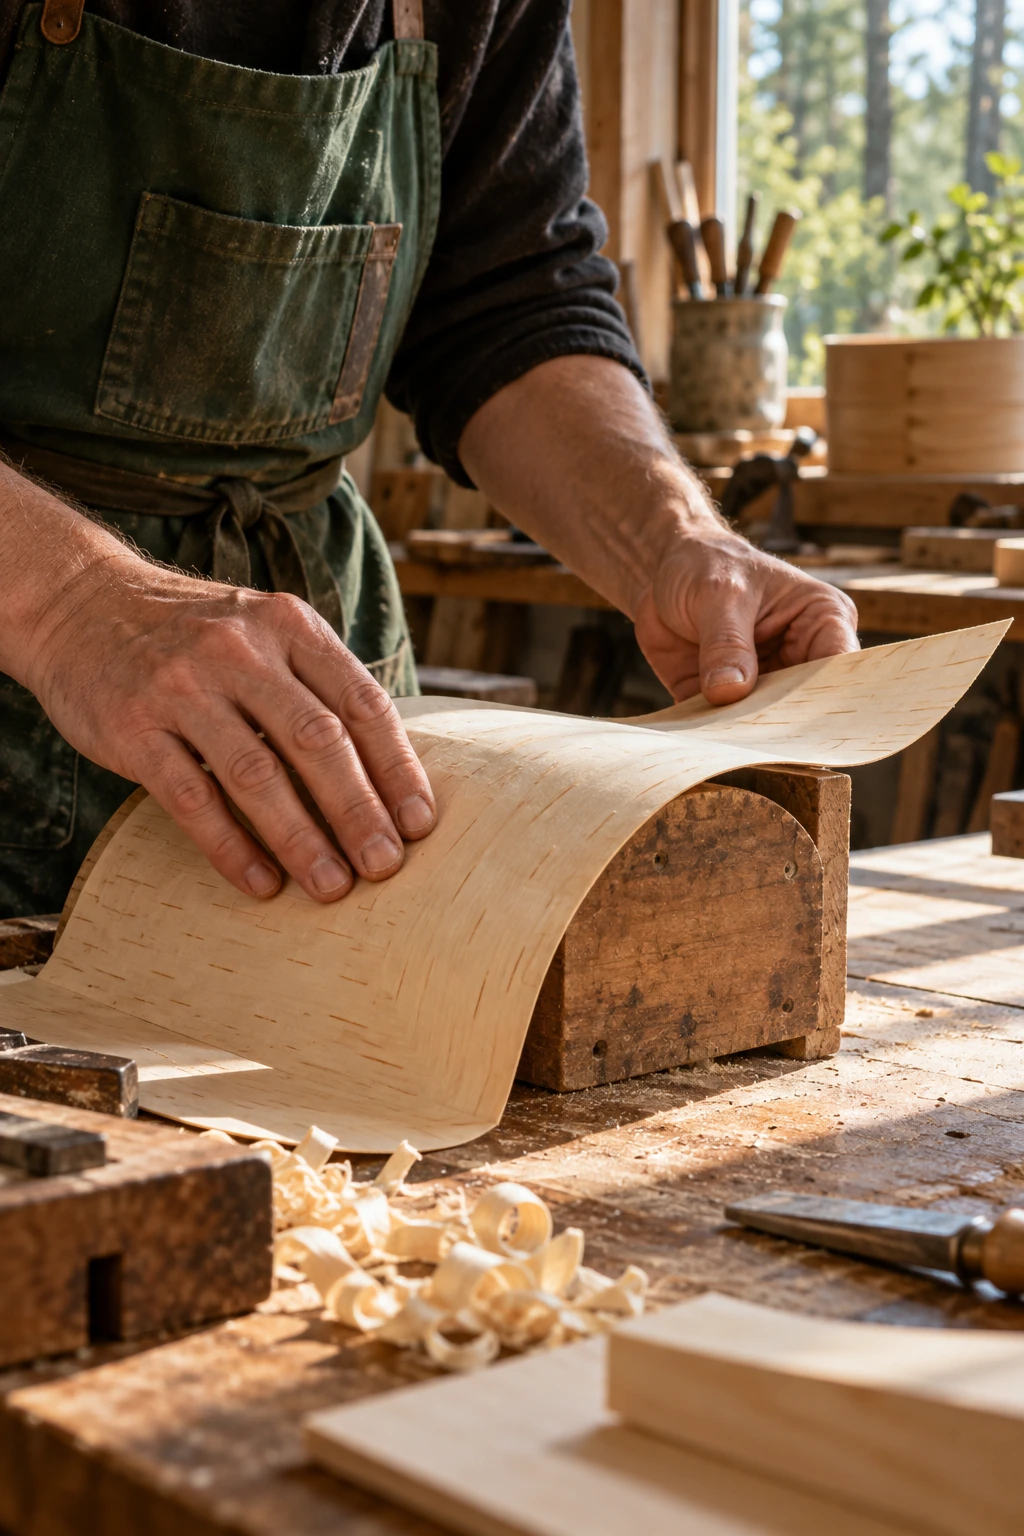
Turn the sample over. The edge and the underside often reveal what a polished face conceals.
Keep size and conditions similar. Change one variable so the difference means something.
Name what you actually saw. Keep uncertainty beside the observation, not out of sight.
01 / A cabinet of questions
These are starting points for physical investigation. Material names alone cannot tell you how a particular sample will behave.
Compare compression, recovery and the way an edge holds together. Two equally soft surfaces may behave very differently.
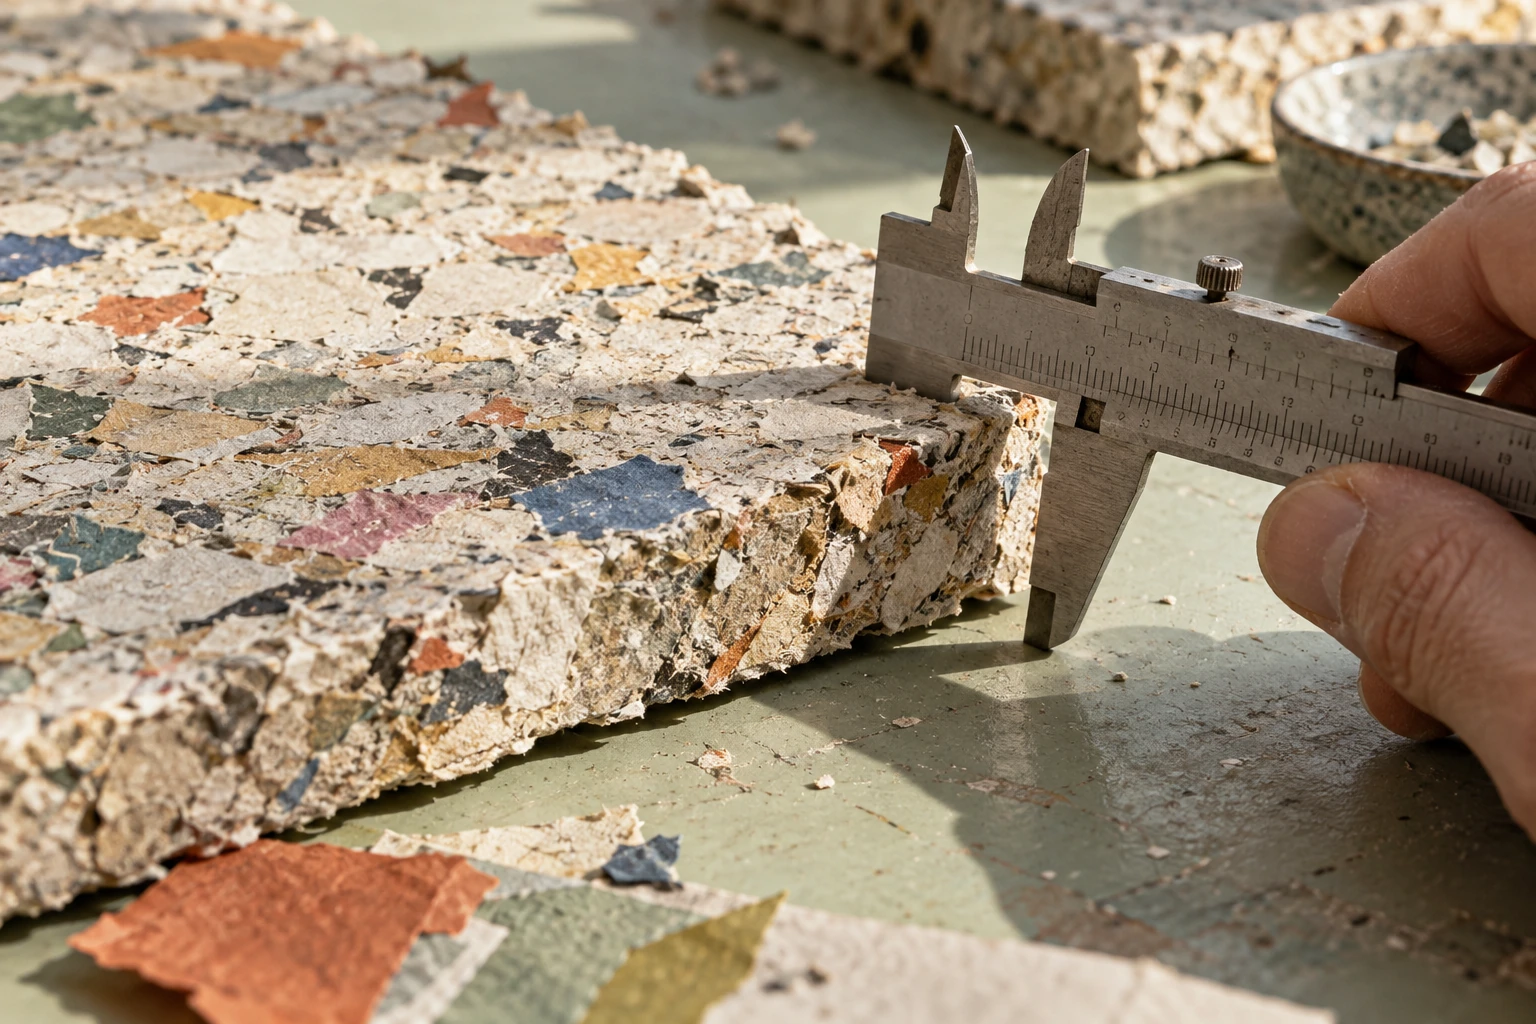
Inspect the cut edge. Notice particle size, layers and the relationship between the binder and what it holds.
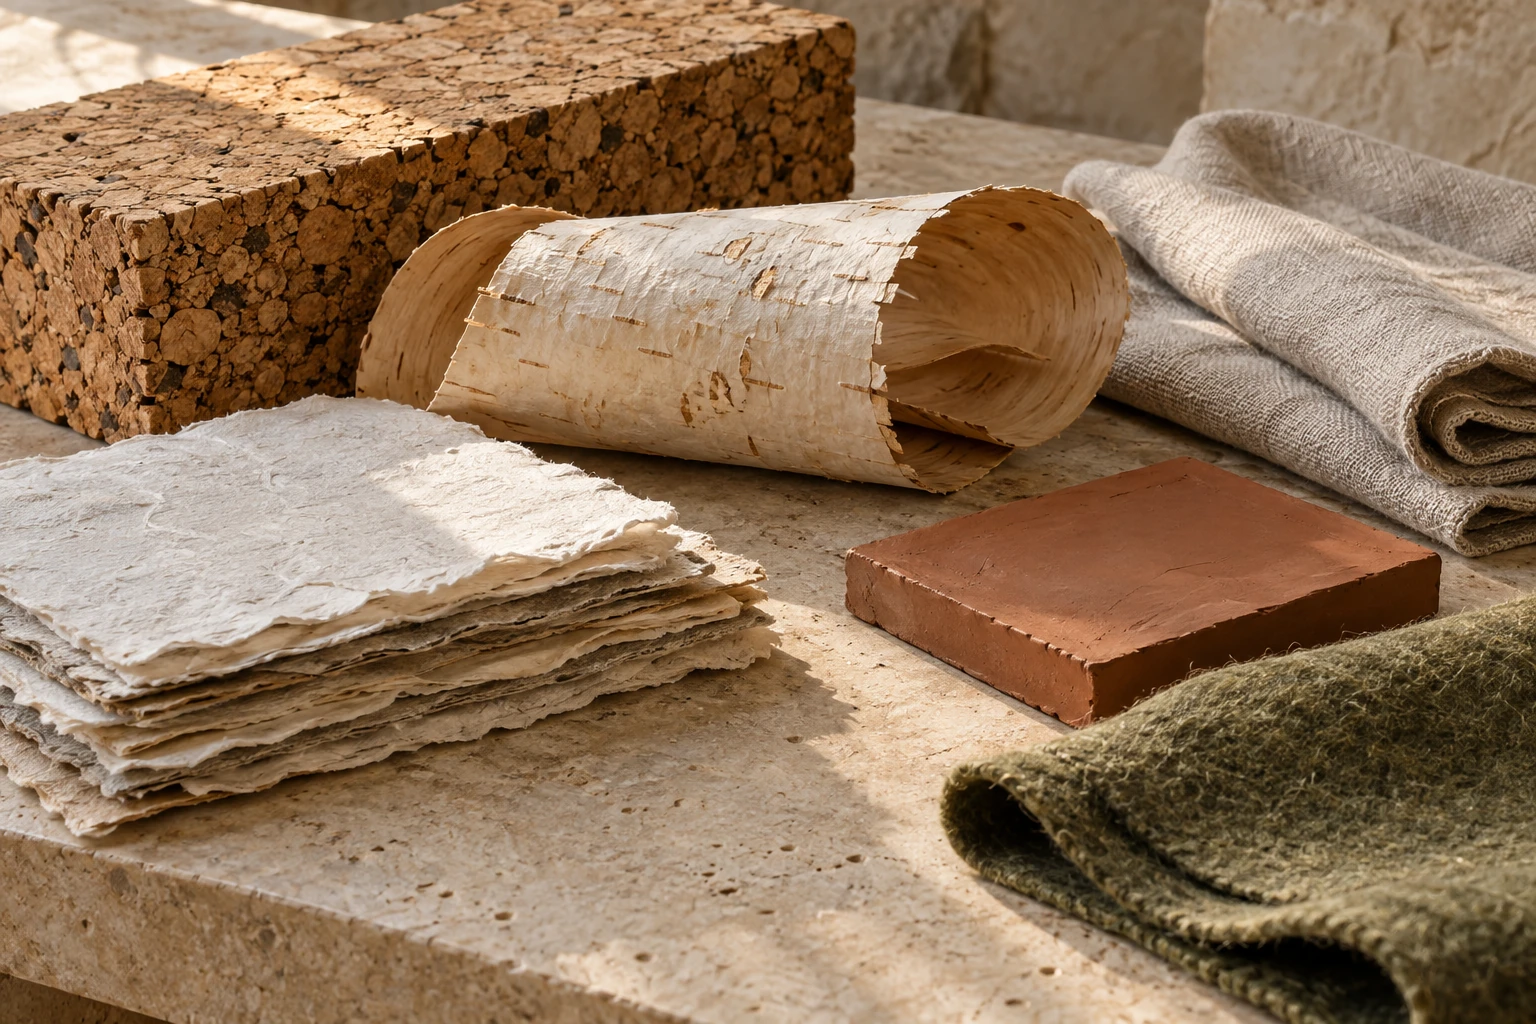
A useful library includes awkward offcuts and incomplete experiments. Give each sample a question, not just a label.
02 / The comparison desk
Choose two samples. Use the suggested observations as a starting point for your own test, with matching dimensions and conditions.
| Look for | Cork | Wood veneer |
|---|
Comparing cork and wood veneer.
02 / A small physical test
Press, release, then look again. Does the sample recover, retain a mark or change at an edge? A careful low-force test can reveal a useful next question.
These are exploratory craft exercises, not structural or safety tests.
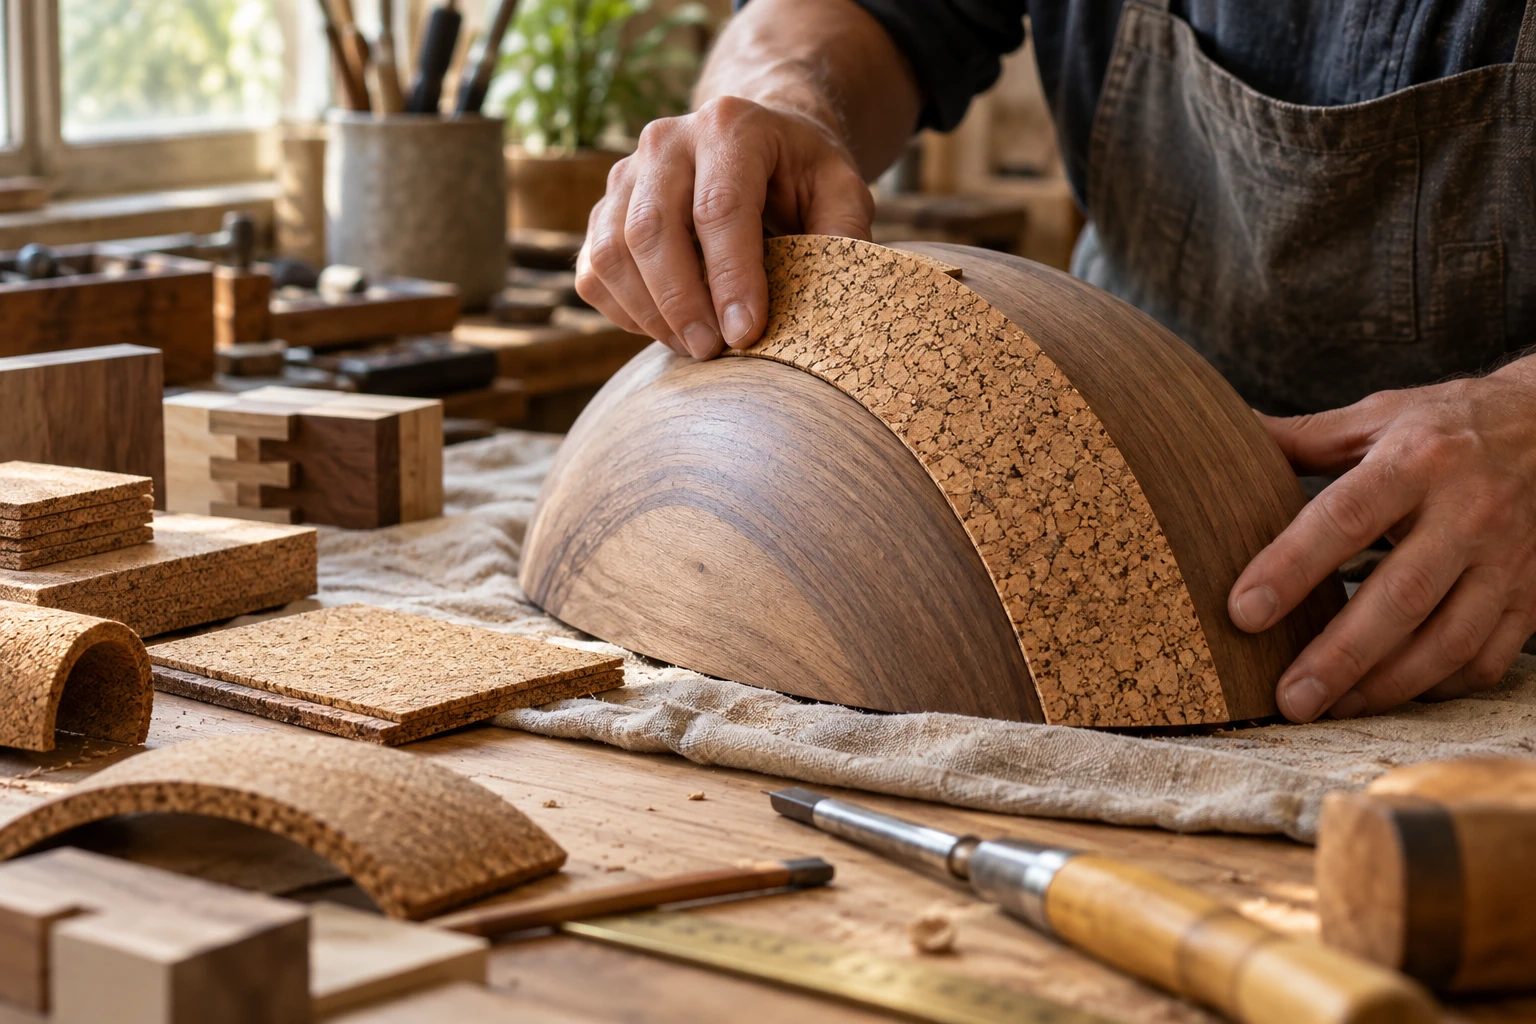
03 / A shared workbench
Describe what you observed before explaining what you want to make. Let someone else handle the same piece and compare your words.

Keep the conditions visible.
Thickness, grain and treatment belong beside the result.
Separate fact from interpretation.
“The edge split” is an observation. “It is unsuitable” needs a use case.
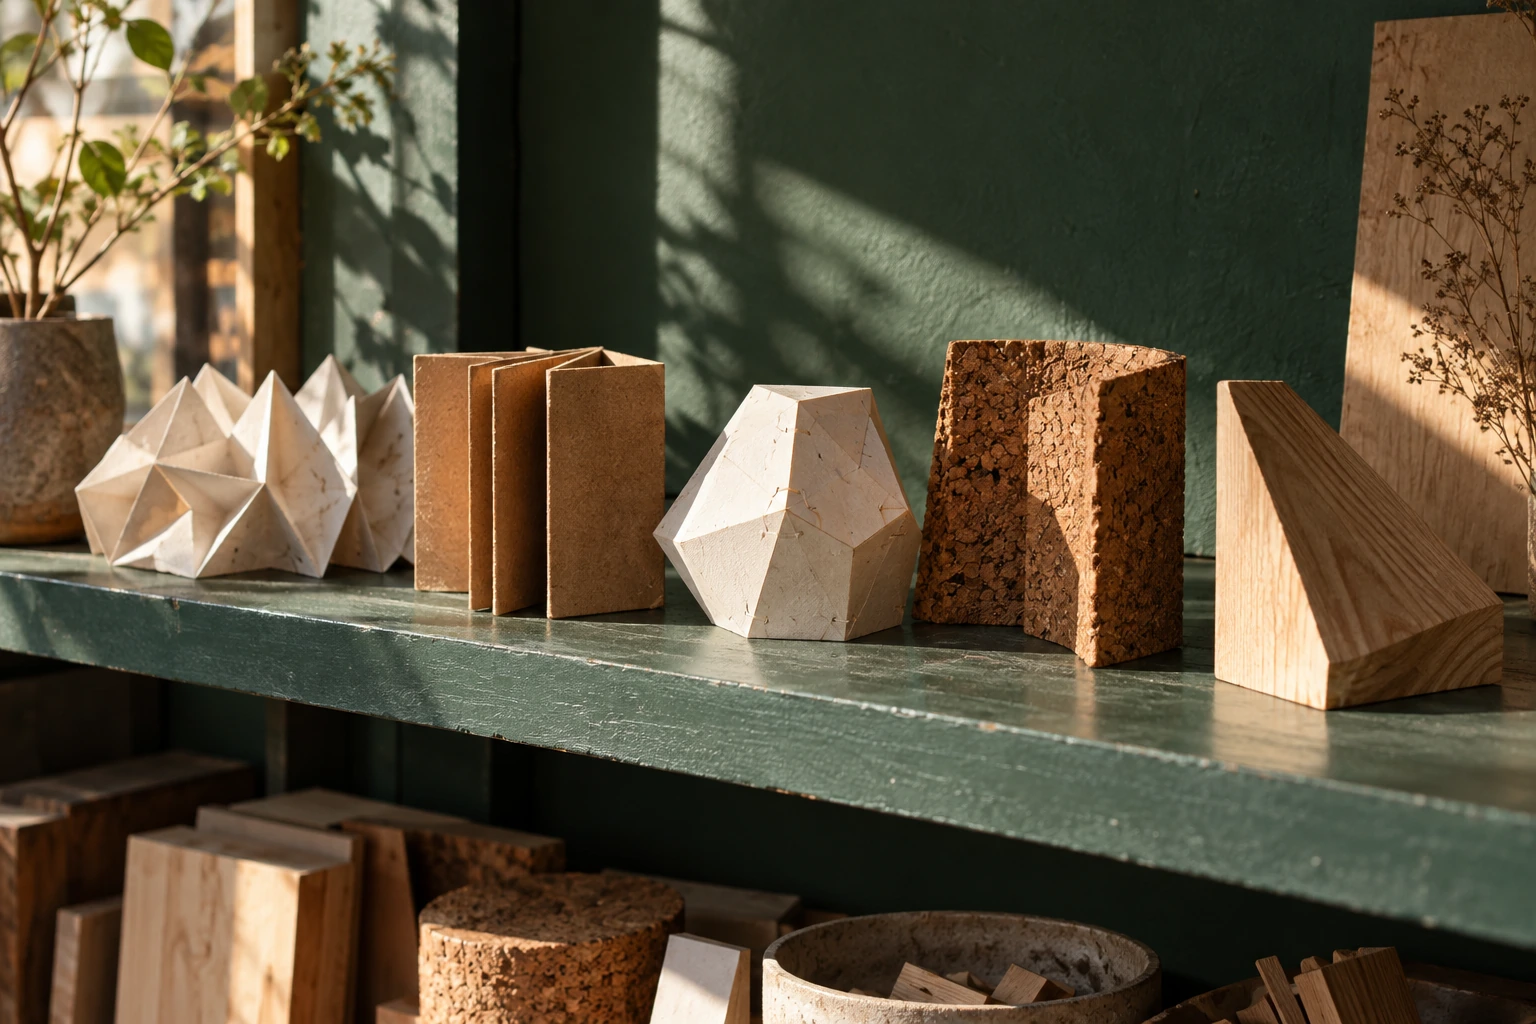
04 / Make a small version
Build only enough to test the relationship that matters. A rough corner, hinge or folded edge can teach more than a polished whole.
One behaviour to investigate.
The smallest useful test piece.
A second version with one change.
The result and the unanswered question.
05 / Texture is a relationship
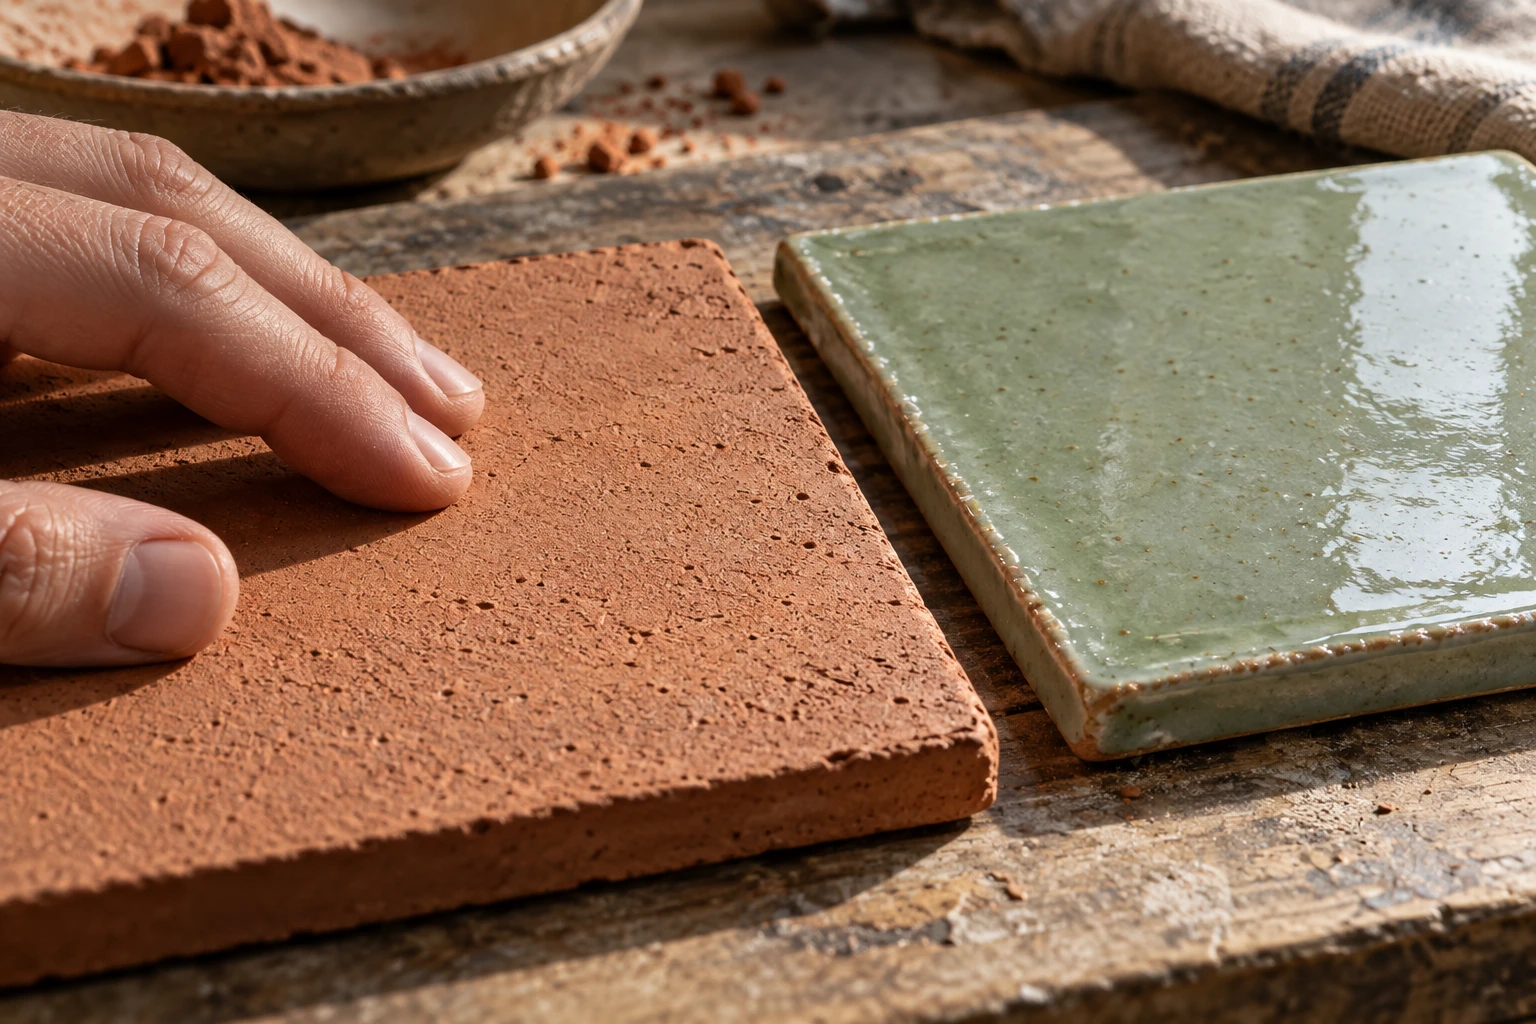
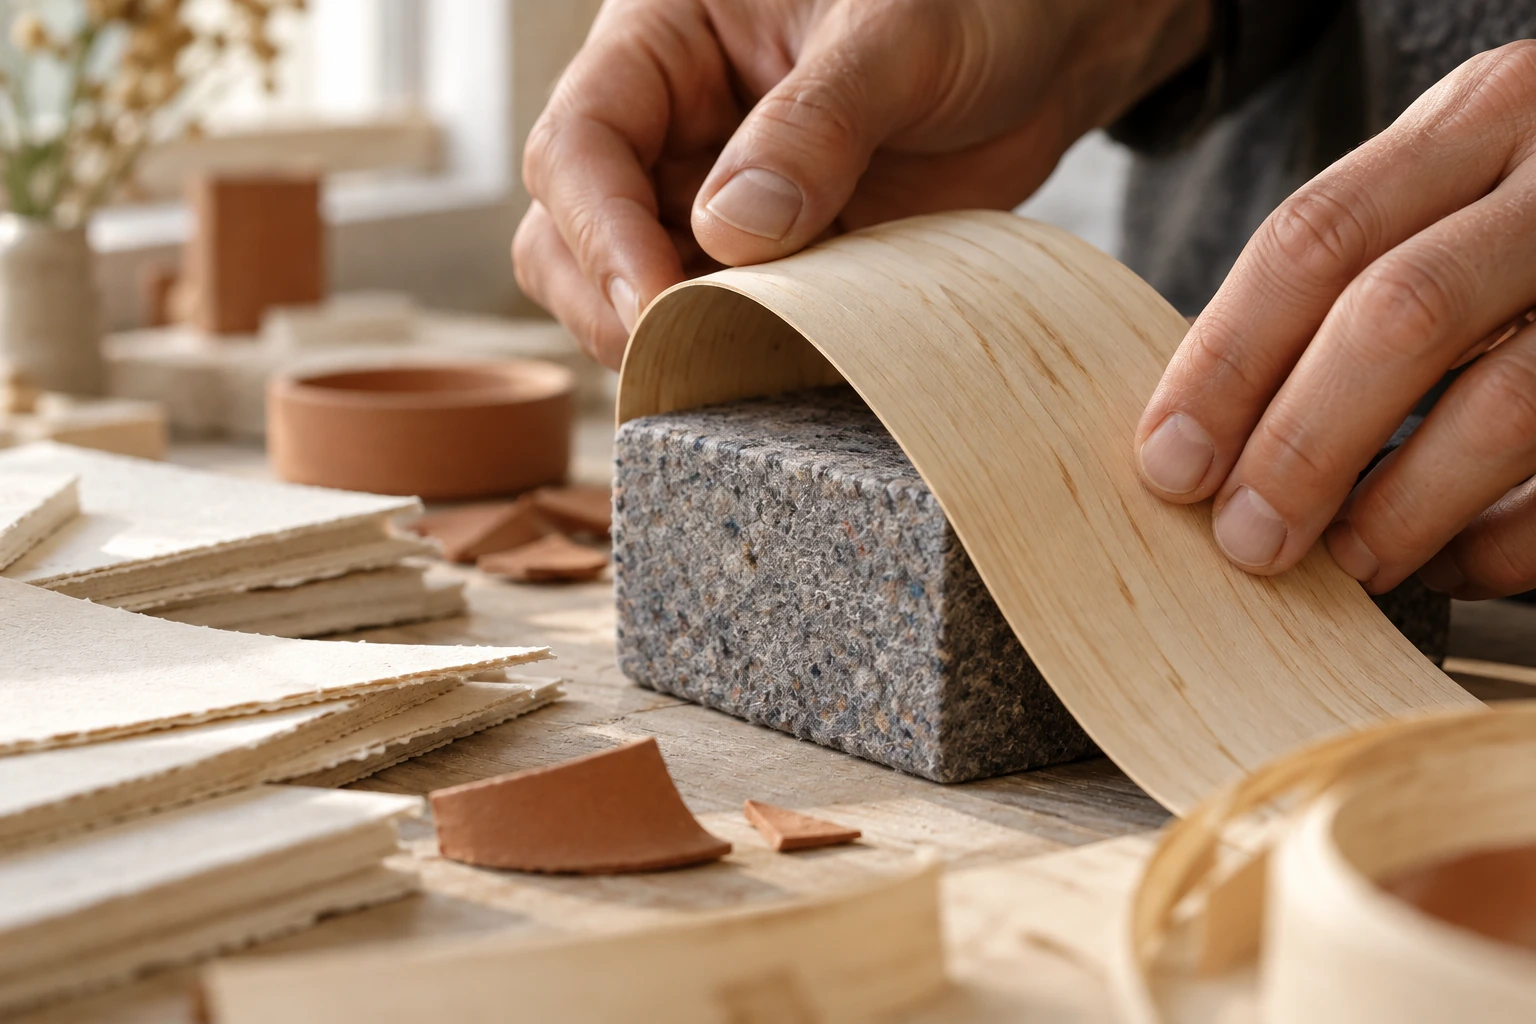
Light, scale and touch change what a material communicates. Look at a sample close up, at arm’s length and beside another surface.
06 / Where two things meet
A joining method changes movement, maintenance and the chance of taking something apart. Test the joint on a spare sample first.
Try a reversible clamp, wrap or simple mechanical restraint. Observe where pressure gathers and whether the contact leaves a mark.
Explore a tab, slot or folded edge. Check how the joint responds to repeated assembly. Small changes in thickness can make a large difference.
A stitched connection can keep flexibility and make construction visible. Compare hole spacing and thread tension on a non-critical sample.
07 / The next experiment
Describe the same sample from its face and its edge. Compare the words, then photograph the difference in raking light.
Use two similar paper strips cut in different directions. Bend them gently and note the difference before making a fold.
Place one material beside three very different neighbours. Record how its apparent warmth, roughness or weight changes.
Make the same reversible connection in two thicknesses. Notice what stays consistent and what needs to change.
4 entries shown.
08 / A useful sample record
Record only observations you can support. Ticks are temporary and reset with this page.
09 / In the cabinet
A sample is evidence about that sample, under those conditions. Use the fieldguide to ask better questions.
Begin with familiar paper, fabric, cork or untreated wood offcuts whose handling requirements you understand. Avoid unknown powders, fibres or coatings.
No. It offers qualitative prompts for observation. Actual performance depends on the specific sample, construction and conditions of use.
Match dimensions and conditions as closely as practical, record the differences you cannot remove, and change one variable at a time.
Keep a labelled piece, dimensions, a photograph and a short observation. An unsuccessful prototype can be especially useful if you record what happened.
10 / A note from your workbench
Share a question about an exercise, a material comparison or a point that could use a clearer explanation.